
|
coloring - method one
(scanned as line art/drawing) |
coloring - method two
(scanned as grayscale/photo) |
continued
If you've got the space on your computer, I'd suggest you keep a copy of your work aside, and use the other for resizing. To see what your art looks like at actual size simply double-click your magnifying tool in your tool bar. Chances are, at this point you'll see just how huge your art would look on the web if you just saved it this size.

Go to "Image", "Image Size". This will bring up your image size window. Change your resolution to 72dpi and click OK. Your image will appear to shrink, so remember to again double-click the magnifier to view it "actual size."
Now the choice is yours... is it still too large or just right? If it's still too large, go back to "Image", "Image Size". Your resolution will still be 72dpi, as it should be - so don't change that. Look at your "Pixel Dimensions" from this point on. Make sure "Constrain Proportions" is checked, as you don't want to distort your art - and change either the Pixel Dimension width or height to something a little smaller. Click OK. Keep creeping down the width or height like this (if you need to) until you are happy with the size.

After you've got the size you like, flatten your image. To do this, go to your Layers palette, click on the black arrow and select "Flatten Image".
Go to "File", "Save For Web" and save your file at either a GIF or JPEG. Images with large area of flat color usually look better saved as GIFS, while images with soft color variations look better as JPEGs. GIFS can retain transparency - JPEGs cannot.
Individuality...
Well, this was just one way out of many ways that you can color a sketch within Photoshop. The more you start pokin' around and experimenting with it - the more ways you'll come up with, I'm sure! I hope this tutorial helped you out. Good luck on your projects!

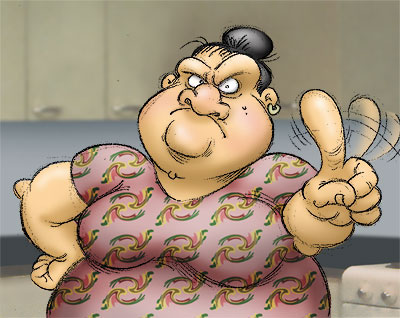
The finished product. Beautiful, isn't she?
"Doncha make-uh-duh fun of mah-face! You wise-ehh guy!"